Photo Gallery

How We Do It
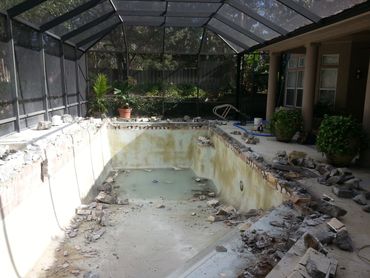
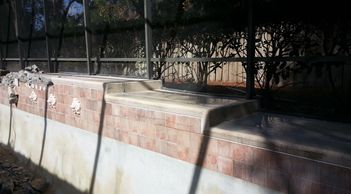
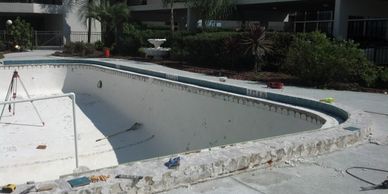
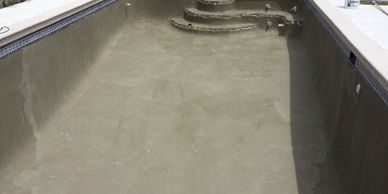
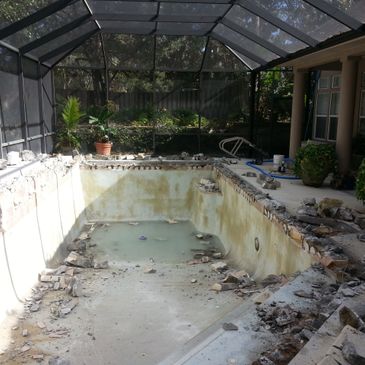
The start of a renovation
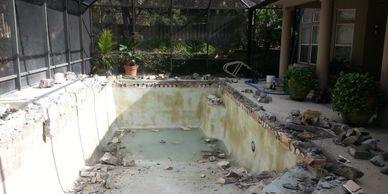
Tile replacement, cut away coping to install 3 inch Flagstone Coping, install stone face on raised beam, and install Sheer Descent water feature,close off infloor cleaning system, resurface pool with a Pebble Finish.
The old tile
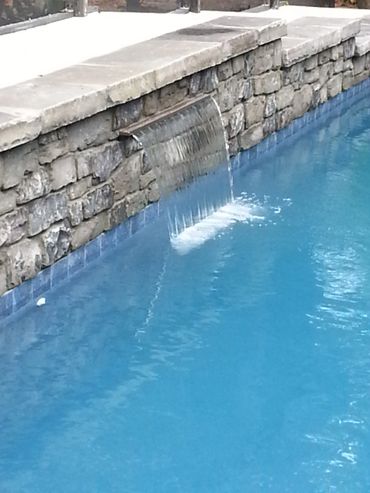
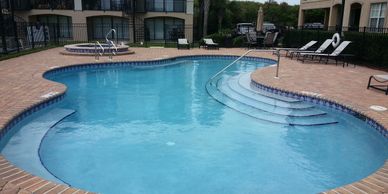
Finished

Old Wall Fitting
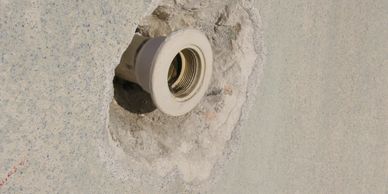
A new fitting
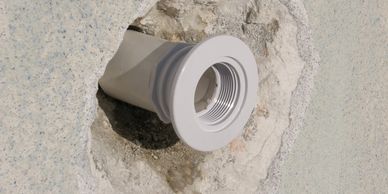
I replace and extend all wall fittings, then patch in with Hydraulic Cement to prevent any leaks.
Light Niches get new Brass Mounting Ring
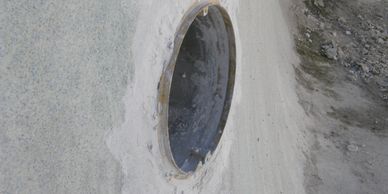
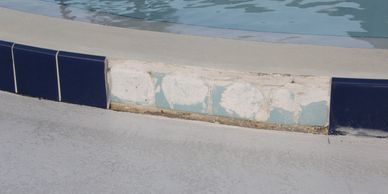
The wrong way to treat a inlet
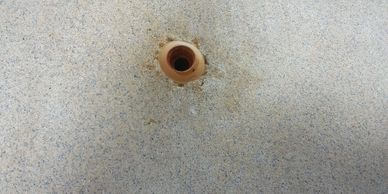
The last time a resurface was done on this pool, the contractor actually plastered over the eyeball, instead of removing it and installing a new one.
The way we do it
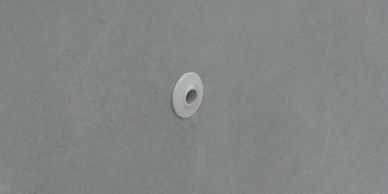
I extend, and replace all wall fittings. The trick is to make the pool look brand new.
Curb rebuild
Textured curb
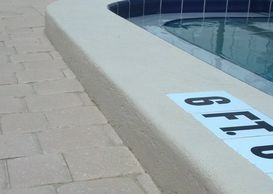
Sometimes a texture can be applied, not always. I rebuilt this curb. It was crooked, and the concrete was cracking off.
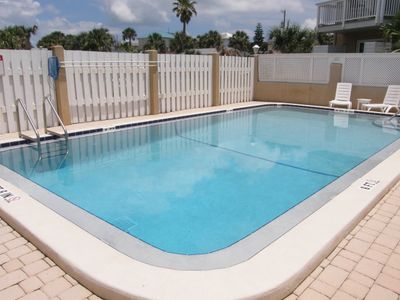
Start up

A proper start up takes at least one week. Daily brushing, and constant water checks, to assure the new finish cures properly.
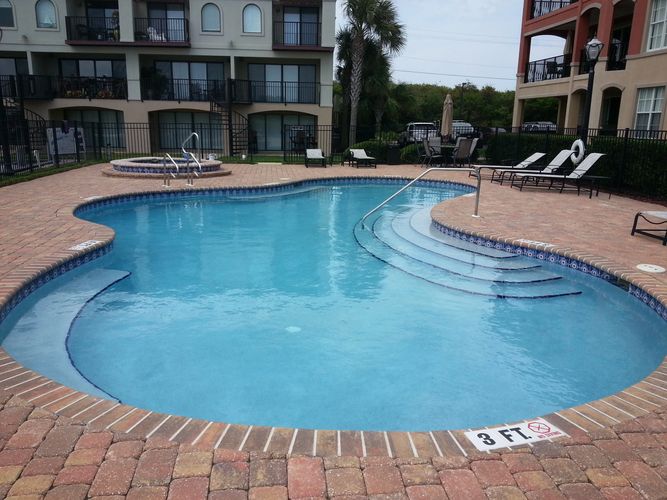
Ready for a swim
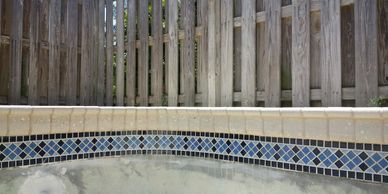
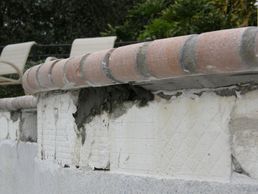
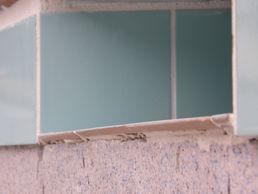
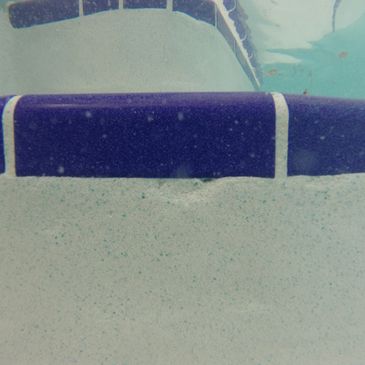
Wrong way to set coping

I thought I had seen it all. No grout between this remodel coping. You should see how they resurfaced the pool.
How we do it
This is a Tan Shell Lock, from Artistic Pavers. Has shell embedded in it. Note the pipe extended and patched, to be cut. That is an inlet.
The view from above.
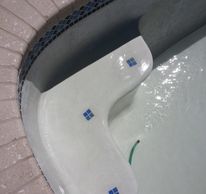
A well done radius. Note the spotter tile on the bench. My customer let me do something with her waterline tile for this, I think it worked.
That's called an undercut
When resurfacing a pool without a tile replacement, an undercut is made.
Bonding agent applied
Once the pool has been pressure washed, and acid washed, a bonding agent is applied.
Plaster day
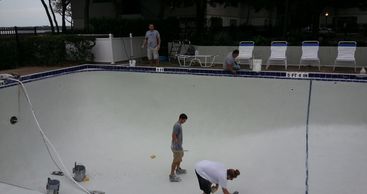
This is one of many Commercial pools I have renovated.
How the other guys do it
That's right, some guy tiled right over tile here. It popped off, and I replaced it. You can not tile over tile, period.
Tile removal
Not easy, but must be done. Once removed I sometimes see things that must be addressed also.
Tile replaced
Note the Bevel Cut on the new tile here, doing this creates a clean edge for the new plaster. Very few, contractors take time to do this., I do it on all my renovations.
Tile Replacement Only
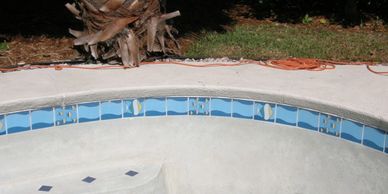
This is the old tile to be removed and replaced, without a re-surface of the pool.
Tile Replaced
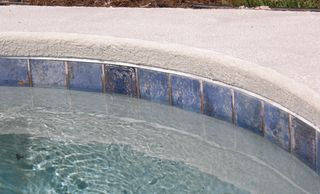
Note, I even saved the Tile Strip (the white band over the tile)
Details Matter
A well done renovation should look like a new pool, not a recently remodeled pool.
How other guys do a corner

This is the Gutter lip tile on a Community pool.
How I do a corner

Seriously, which one looks right to you?
Skimmer Replacement

Note the steel bar wrapped around the skimmer......
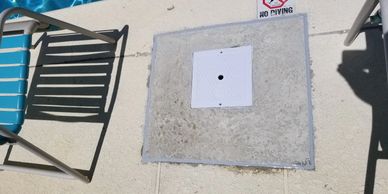
Skimmer Replacement ....next phase
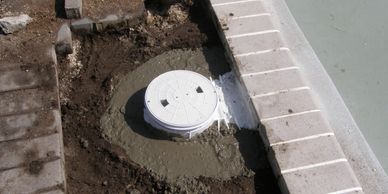
After patching around the throat with Hydraulic cement, concrete is poured around the skimmer body.
Finished
Once the concrete is hard, the pavers go back in place, and sand is broomed over them.
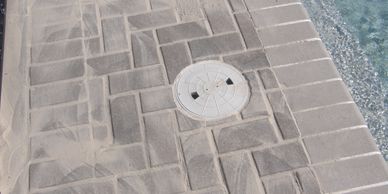
A concrete deck around a Skimmer replacement
This one was a tricky one. Had to use an expansion joint around it to match the old skimmer installation technique. Next comes paint to match the existing deck.
Do you think your pool leaks?
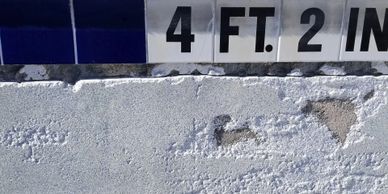
Measure your pool for loss
- Place a piece of tape on the tile, at the waterline.
- 24 hours later, see how far the water has dropped below the tape.
If you lost more than 1/4 inch, you have a leak. Note: we lose about 1/8 to 1/4 inch daily to evaporation.
If rain is forecast, do the following test
- Fill a bucket with water, and measure the from the bottom to the water level. Record that level.
- Then, pick a spot in the pool, like the top step, or the top of a inlet. Measure from that point, to the water level and record your measurement.
- 24 hours later check the bucket measurement, and record. Then check the pool measurement, and record. The loss or gain should be the same if your pool doesn't leak. If the pool measures a loss more than the bucket, the pool probably leaks., That simple.
About Us
Renovations and Repairs
On this site I try to avoid showing glitzy images of pools. Instead, you'll see how it's done. I will show you how others do it, and how I do it. I'll even show you a few ideas.
Experience Matters

In 1981, shortly after discharging from the United States Marine Corps, I got a job as a Swimming Pool Mechanic with a Master Pool Builder. I stayed with it for 9 years before deciding to get my own Contractors License, and go out on my own. Since then, I have renovated and repaired pools from Key west to North Carolina. I committed to staying small, because I love what I do, and I intend to keep it that way.
Leak Location
Leak location, and repair is a service that I take a lot of pride in. Since I have extensive experience building pools, and repairing them, knowing where they leak, and why, gives me a great advantage over those other guys. If I can't find all of your leaks, you don't pay me a dime.